DIY Shrinky Dinks for Ramadan
Who doesn’t love shrinky dinks?! It’s big, then it’s little! Your kids will love this Ramadan craft.
Everyone loves these Ramadan DIY shrinky dinks for Ramadan! Not only are they super cute, hello mini stuff, but they’re super satisfying to watch shrink. And it’s truly easier than you think. These would make super fun gifts for the kids, or a great activity to keep the kids busy during Ramadan. Plus, you’ll get so many shrinky dinks out of the supplies, you can invite all the kids over!
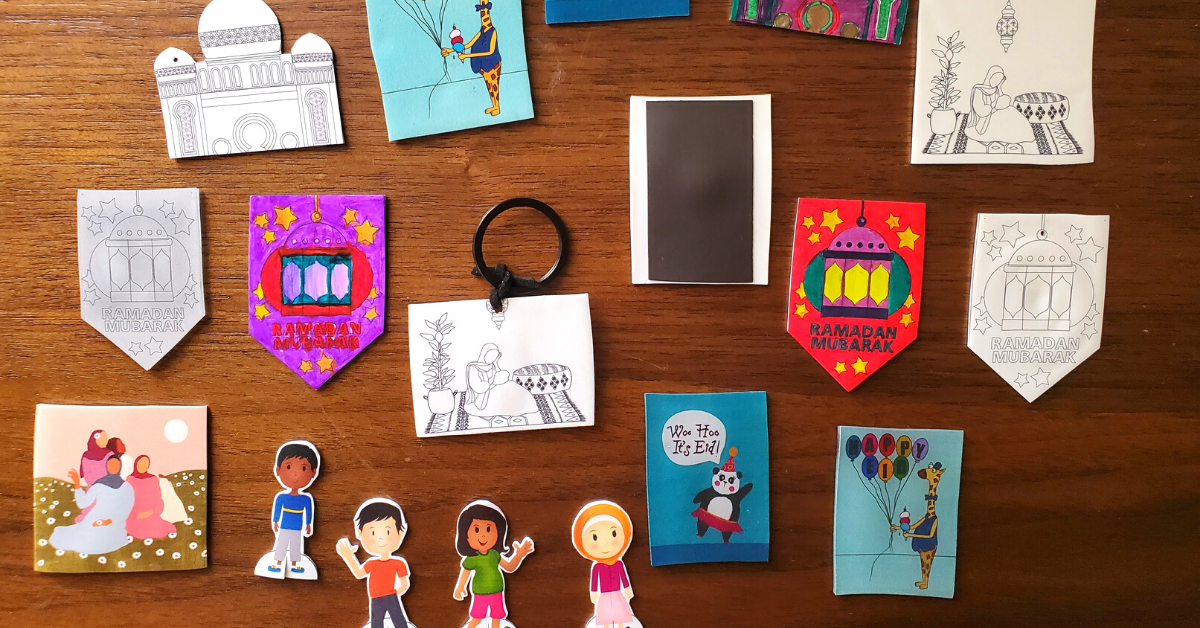
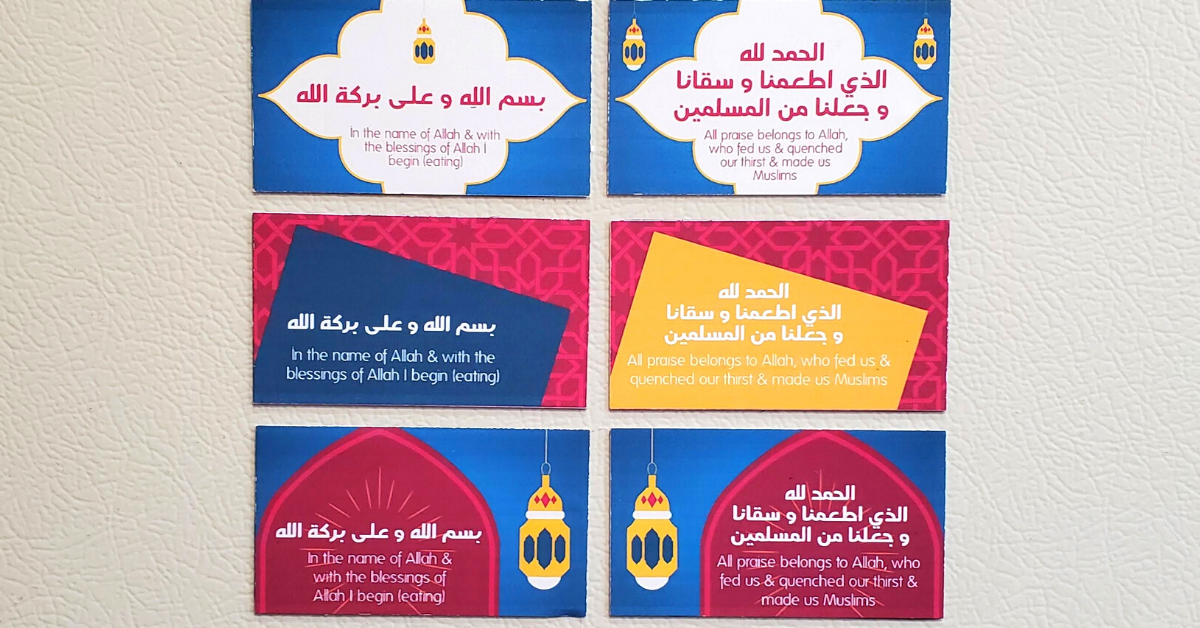
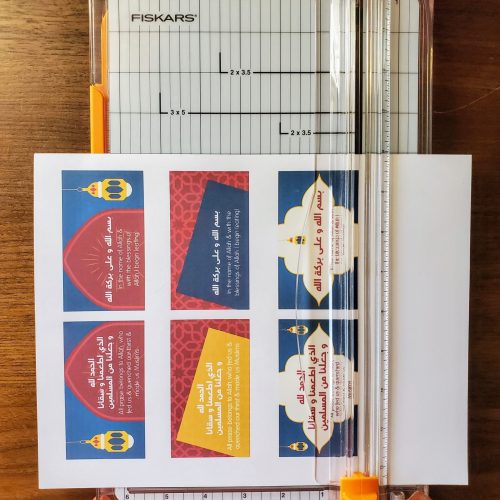
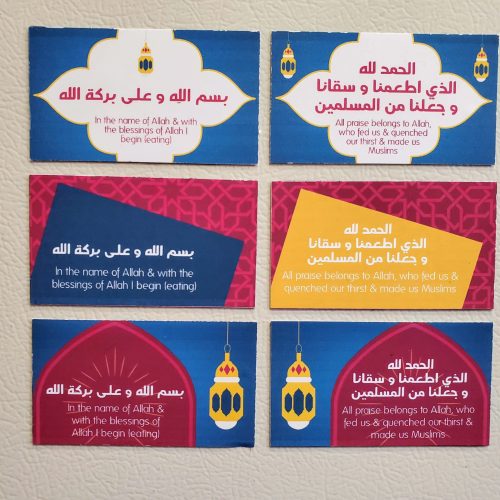
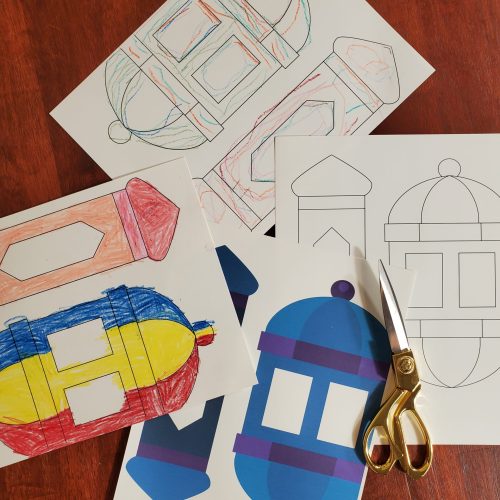
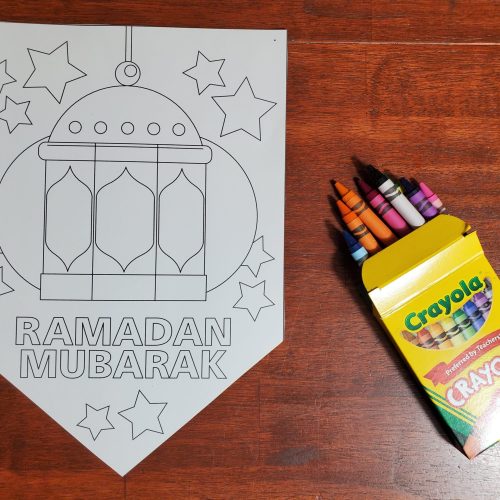
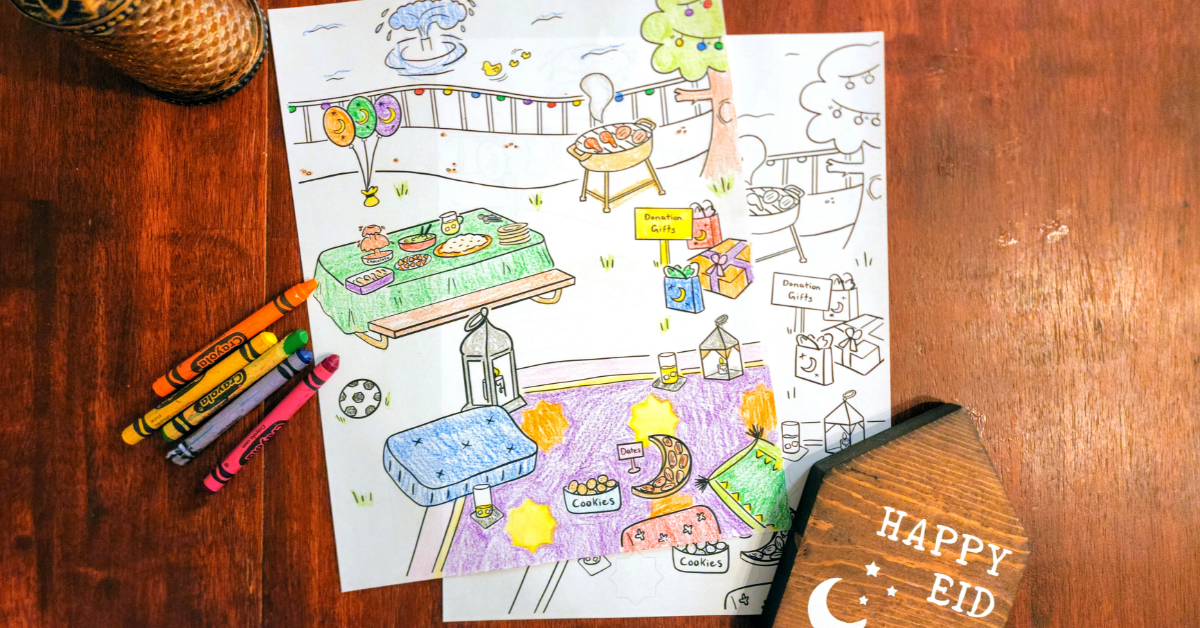
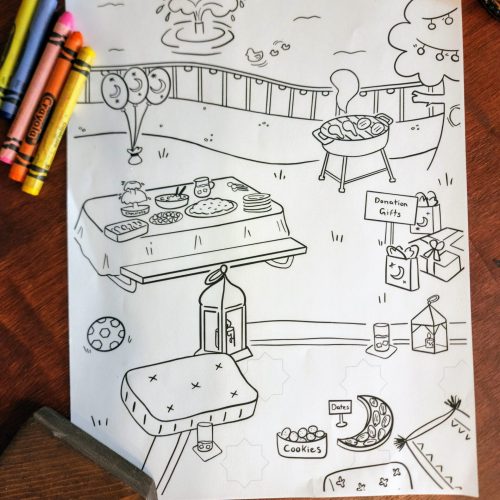
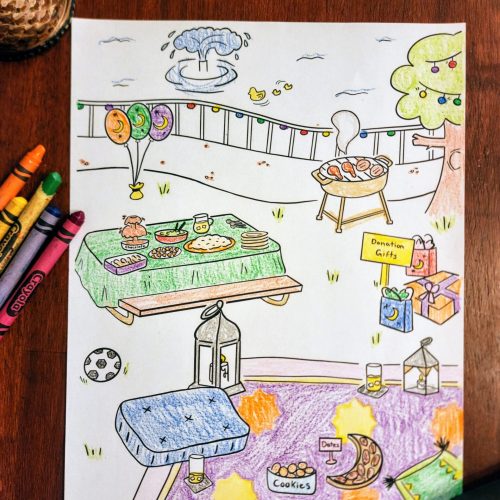
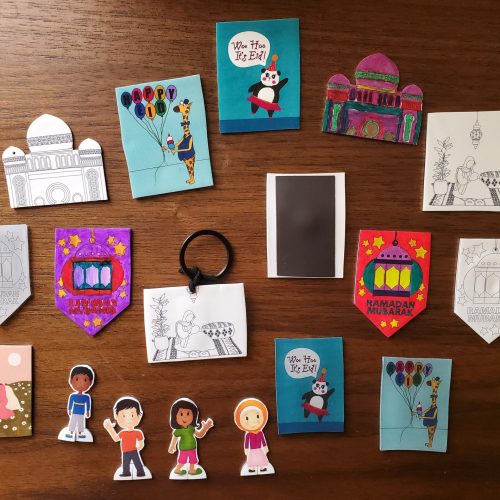
We’ll be using our printables as the images for the shrinky dinks – you can download them below. There are a ton of options on the sheets from: image ready ones to ones to color sheet ones. We prefer to print all of them and have an array of printables.
Sign up for our newsletter and get all the DIYs sent to you email every time. And make sure to follow us on Instagram for more Ramadan & Eid inspiration.
Note: This post contains affiliate links. You can read our privacy policy.
Let’s make these Ramadan shrinky dinks!
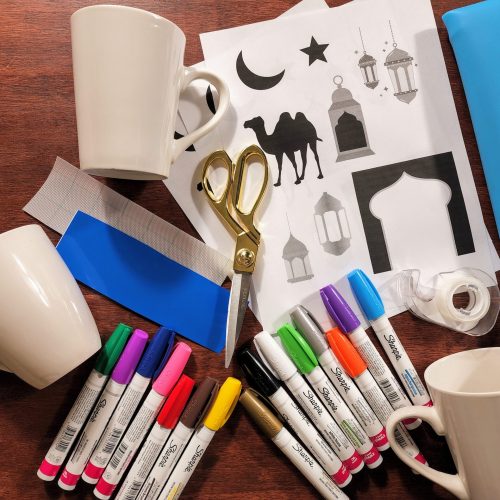
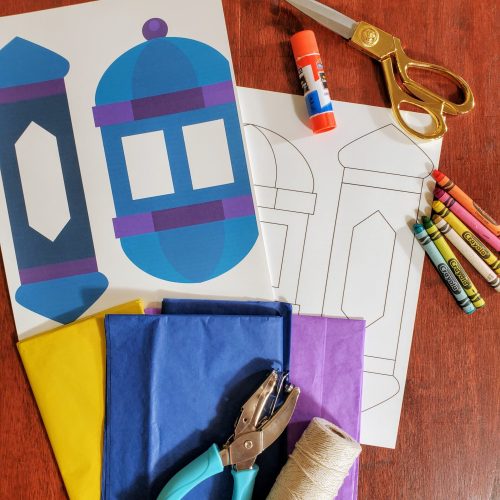
At the minimum, you’ll need these printable shrinky dink papers for inkjet printers, an inkjet printer, sharpies and scissors. You can do some extra things to your shrinky dinks like make them into keychains or magnets – so grab those supplies (listed at the bottom of the article) if you’ll be doing that!
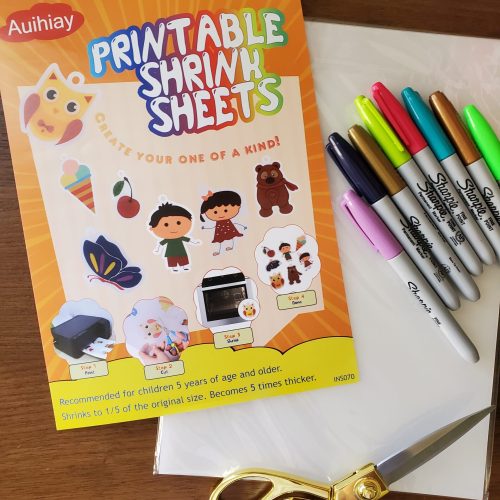
You must have an inkjet printer for the paper to work! Make sure to set your printer to print for a matte paper and make sure the printer prints onto the flat/matte side! It will not print on the shiny side.
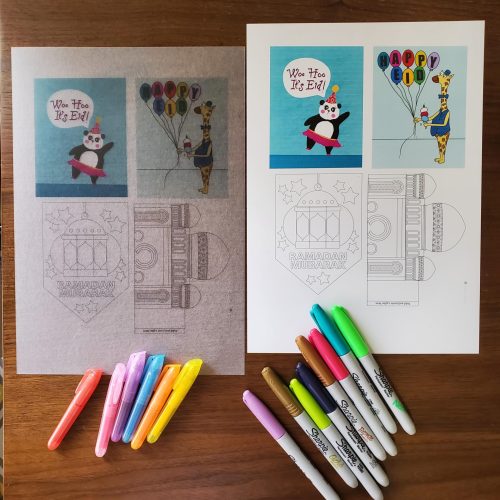
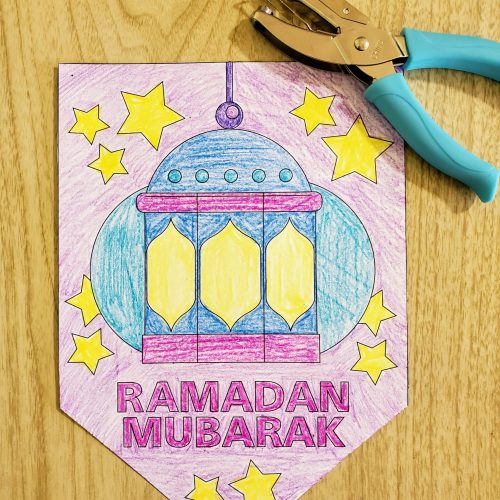
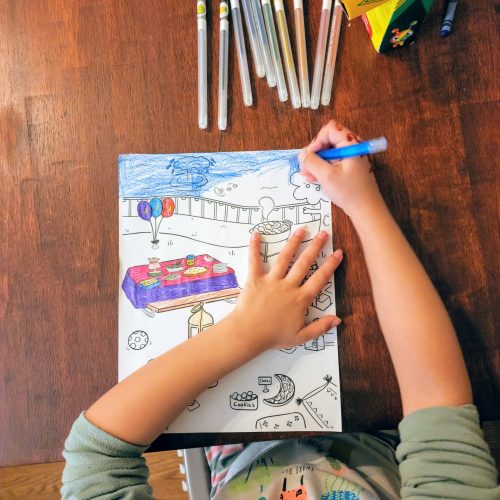
After printing the shrinky dinks on the paper, it’s time to color the coloring sheet ones. And all you need to color, are sharpie pens. We adore the neon set to make a fun punch of color. But any color sharpie will work. You must color on the matte side!
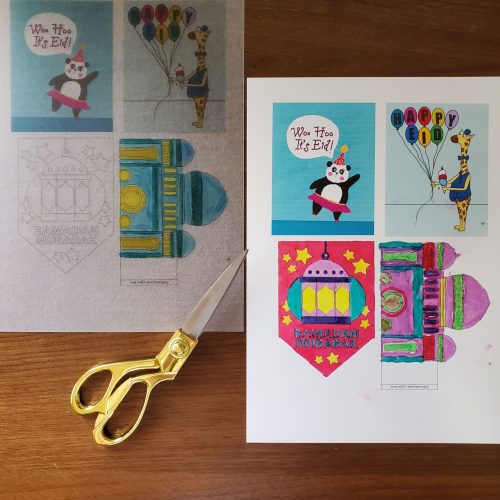
Time to cut the shrinky dinks out. A little note. If you’ve accidentally torn the shrinky dink a little when cutting out the images – don’t worry. It’ll come back together when it’s in the oven.
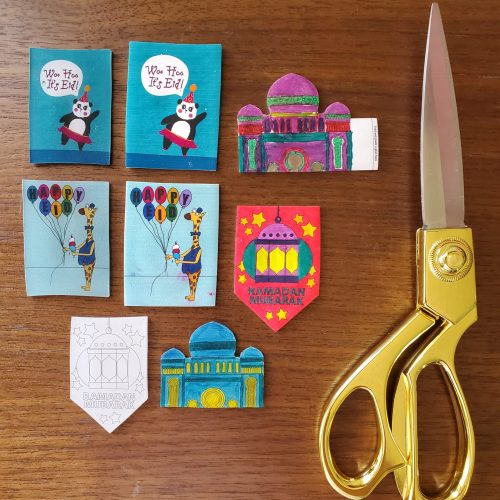
If you’re going to make them into a keychain – it’s time to make a hole in them. You’ll need a large hand hole puncher, or make several holes to create one larger hole. Remember it will shrink greatly so you need to create a pretty big hole to make it into a keychain. We recommend at least one centimeter in diameter.
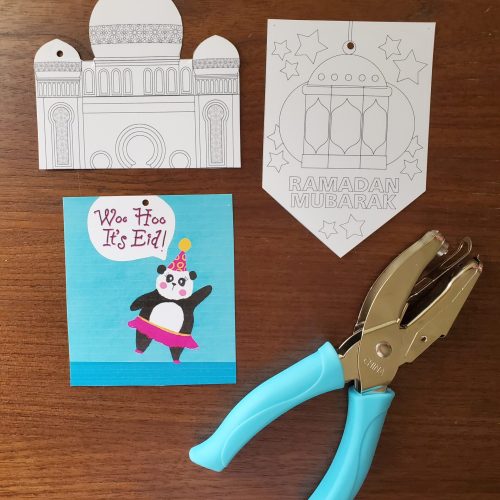
Now it’s time to bake and shrink! Turn your oven, or convection oven, to 325 degrees Fahrenheit. Once it’s preheated, put the shrink dinks on a tray, matte side up, and place in the oven for about 2-3 minutes. They’ll curl up so much you think they won’t lay flat, then just like that, they’ll uncurl and stay flat. Once they flatten back down keep in the oven for about 30 more minutes – then take out.
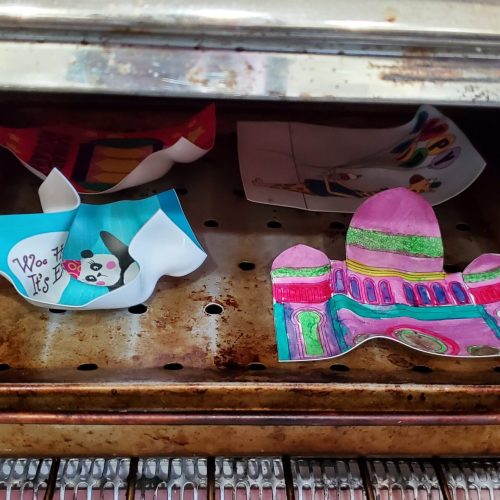
Once they come out of the oven, take them out of the tray immediately and flatten them with a flat object – like a measuring cup. They will cool instantly so make sure to do this step quickly. And be careful as they are hot and you don’t want to get burned!
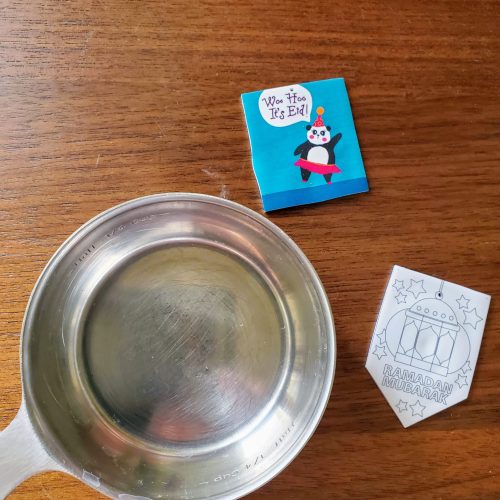
Here’s a little before of what size the shrinky dinks were.
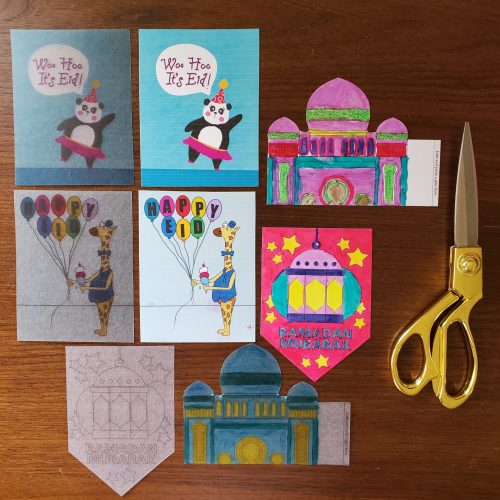
Look at how much they shrunk after! It’s really so much fun.

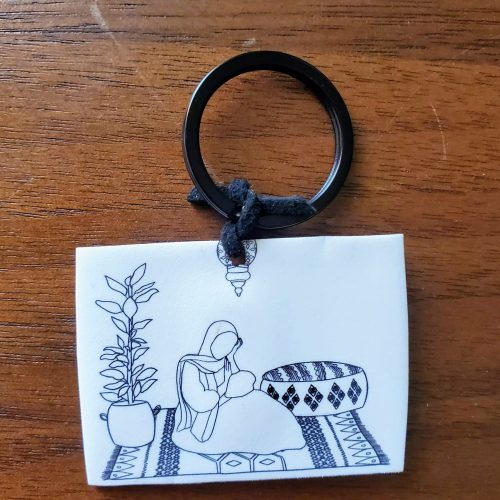
Finish the keychains
Remember you have to hole punch a sizable hole before baking. After they’ve baked and cooled, place a string into the hole and tie. Then tie the keychain ring onto the string.
Make it a magnet
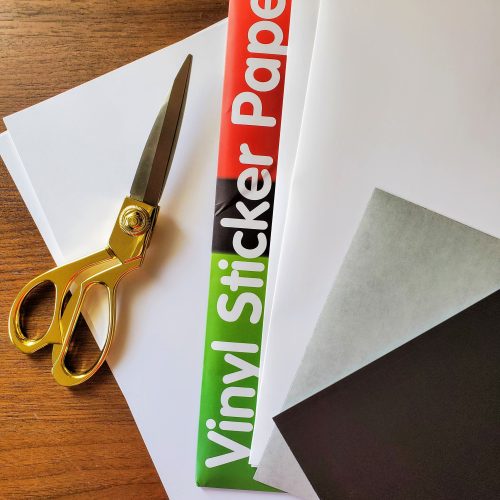
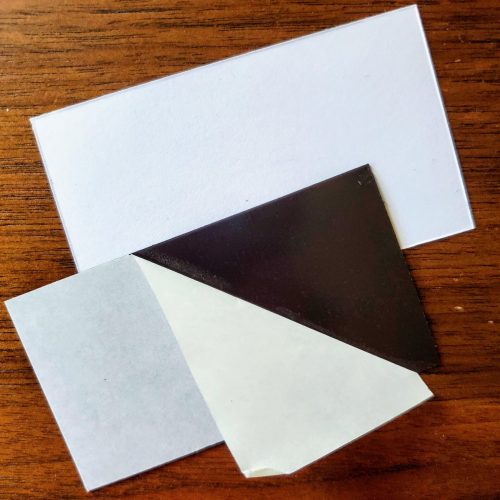
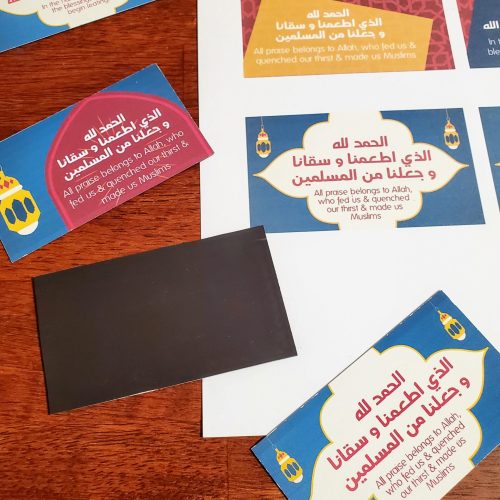
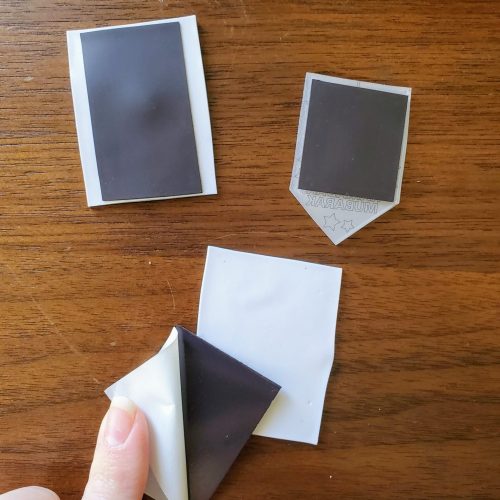
After it’s baked all you’ll need to do is add an adhesive magnet.
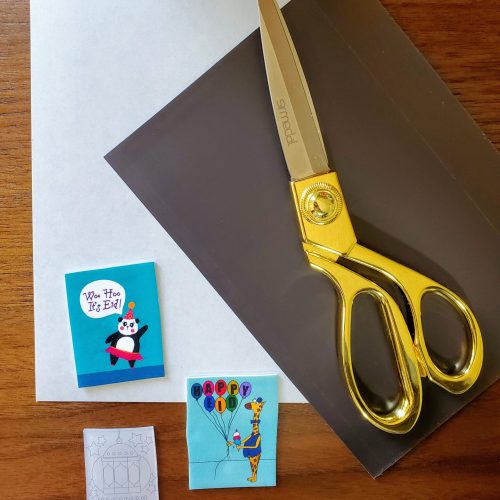
We cut the magnet to a smaller size than the shrinky dinks, it doesn’t need to cover the entire thing. You’ll peel the magnet off and add to the shrinky dink – it’s just that easy.
Supplies
Products are linked, or visit our full Amazon store
- Shrinky Dink printable paper
- Inkjet printer
- Scissors
- Sharpies – neon pack or electro pop pack
Optional:
- String
- Keychain ring
- Adhesive magnet
- Single paper hole punch
Instructions
- You must have an inkjet printer for the paper to work. Set your printer to print for matte paper.
- Prints onto the flat/matte side.
- If you have the coloring sheet printables – it’s time to color them in with sharpie pens. Color on the matte side.
- Time to cut the shrinky dinks out.
- If you’re going to make them into a keychain: you’ll need a large hand hole puncher, or make several holes to create a larger hole. We recommend at least one centimeter in diameter.
- Turn your oven, or convection oven, to 325 degrees fahrenheit. Once it’s preheated, put lay the shrink dinks on a tray and place in the oven for about 2-3 minutes. They’ll curl, then uncurl and stay flat. Once they flatten back down keep in the oven for about 30 more minutes – then take out.
- Take them out of the tray immediately and flatten them with a flat object – like a measuring cup. They will cool instantly so make sure to do this step quickly. And be careful as they are hot and you don’t want to get burned.
Make it a keychain or a magnet
Keychain
- Remember you have to hole punch a sizable hole before baking – at least one centimeter.
- Bake.
- Place the string into the hole and tie. Then tie the keychain ring onto the string.
Magnet
- Bake.
- Cut the adhesive magnets down to size and stick onto the back of the shrinky dinks.
Printables are intellectual property of Eid Collective. You may not use Eid Collective printables to sell items or alter them in any way. Please do not send or distribute printables to others, once you gain access to the printables, it is for you, and you alone to print and enjoy.

Showcase it! When you print up the DIY Shrinky Dinks for Ramadan, make sure to tag us in your photos. We look forward to seeing how you’ve displayed it!
And make sure to follow us on Instagram for more Ramadan & Eid inspiration.
Share This Article


