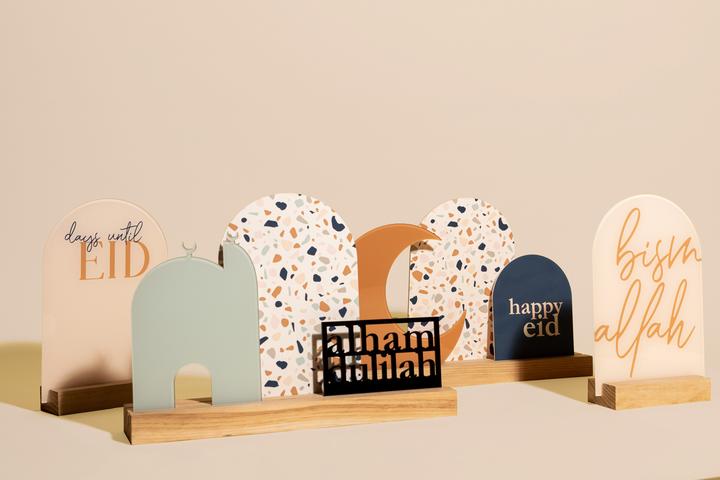
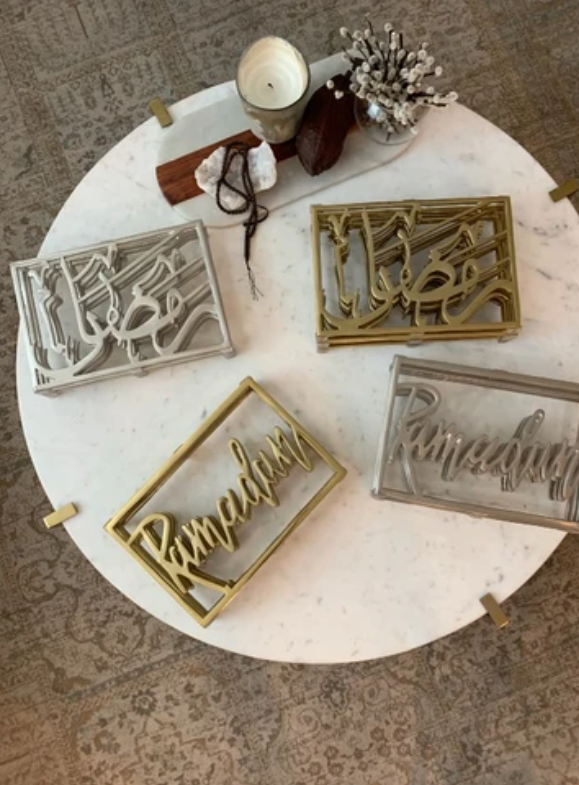
L ooking for decor that’s a bit more modern this Ramadan? Check out this list.
Can we please acknowledge that we even have modern Ramadan & Eid decorations options now? I think we can all look back ten years ago and say, wow. The options that we have now, as Muslims, have greatly increased. And you can now choose from so many great options that are so fantastic. Enjoy!
Make sure to follow us on Instagram for more Ramadan & Eid content and subscribe to the newsletter for discounts and free printables.
Let’s take a look at some of our current favorites!
We hope you enjoyed these Modern Ramadan & Eid Decorations. Let us know some of your favorites below and make sure to Pin the article to Pinterest. And, as always, make sure to follow us on Instagram for more Ramadan & Eid inspiration and sign up for the newsletter for discounts and free printables!
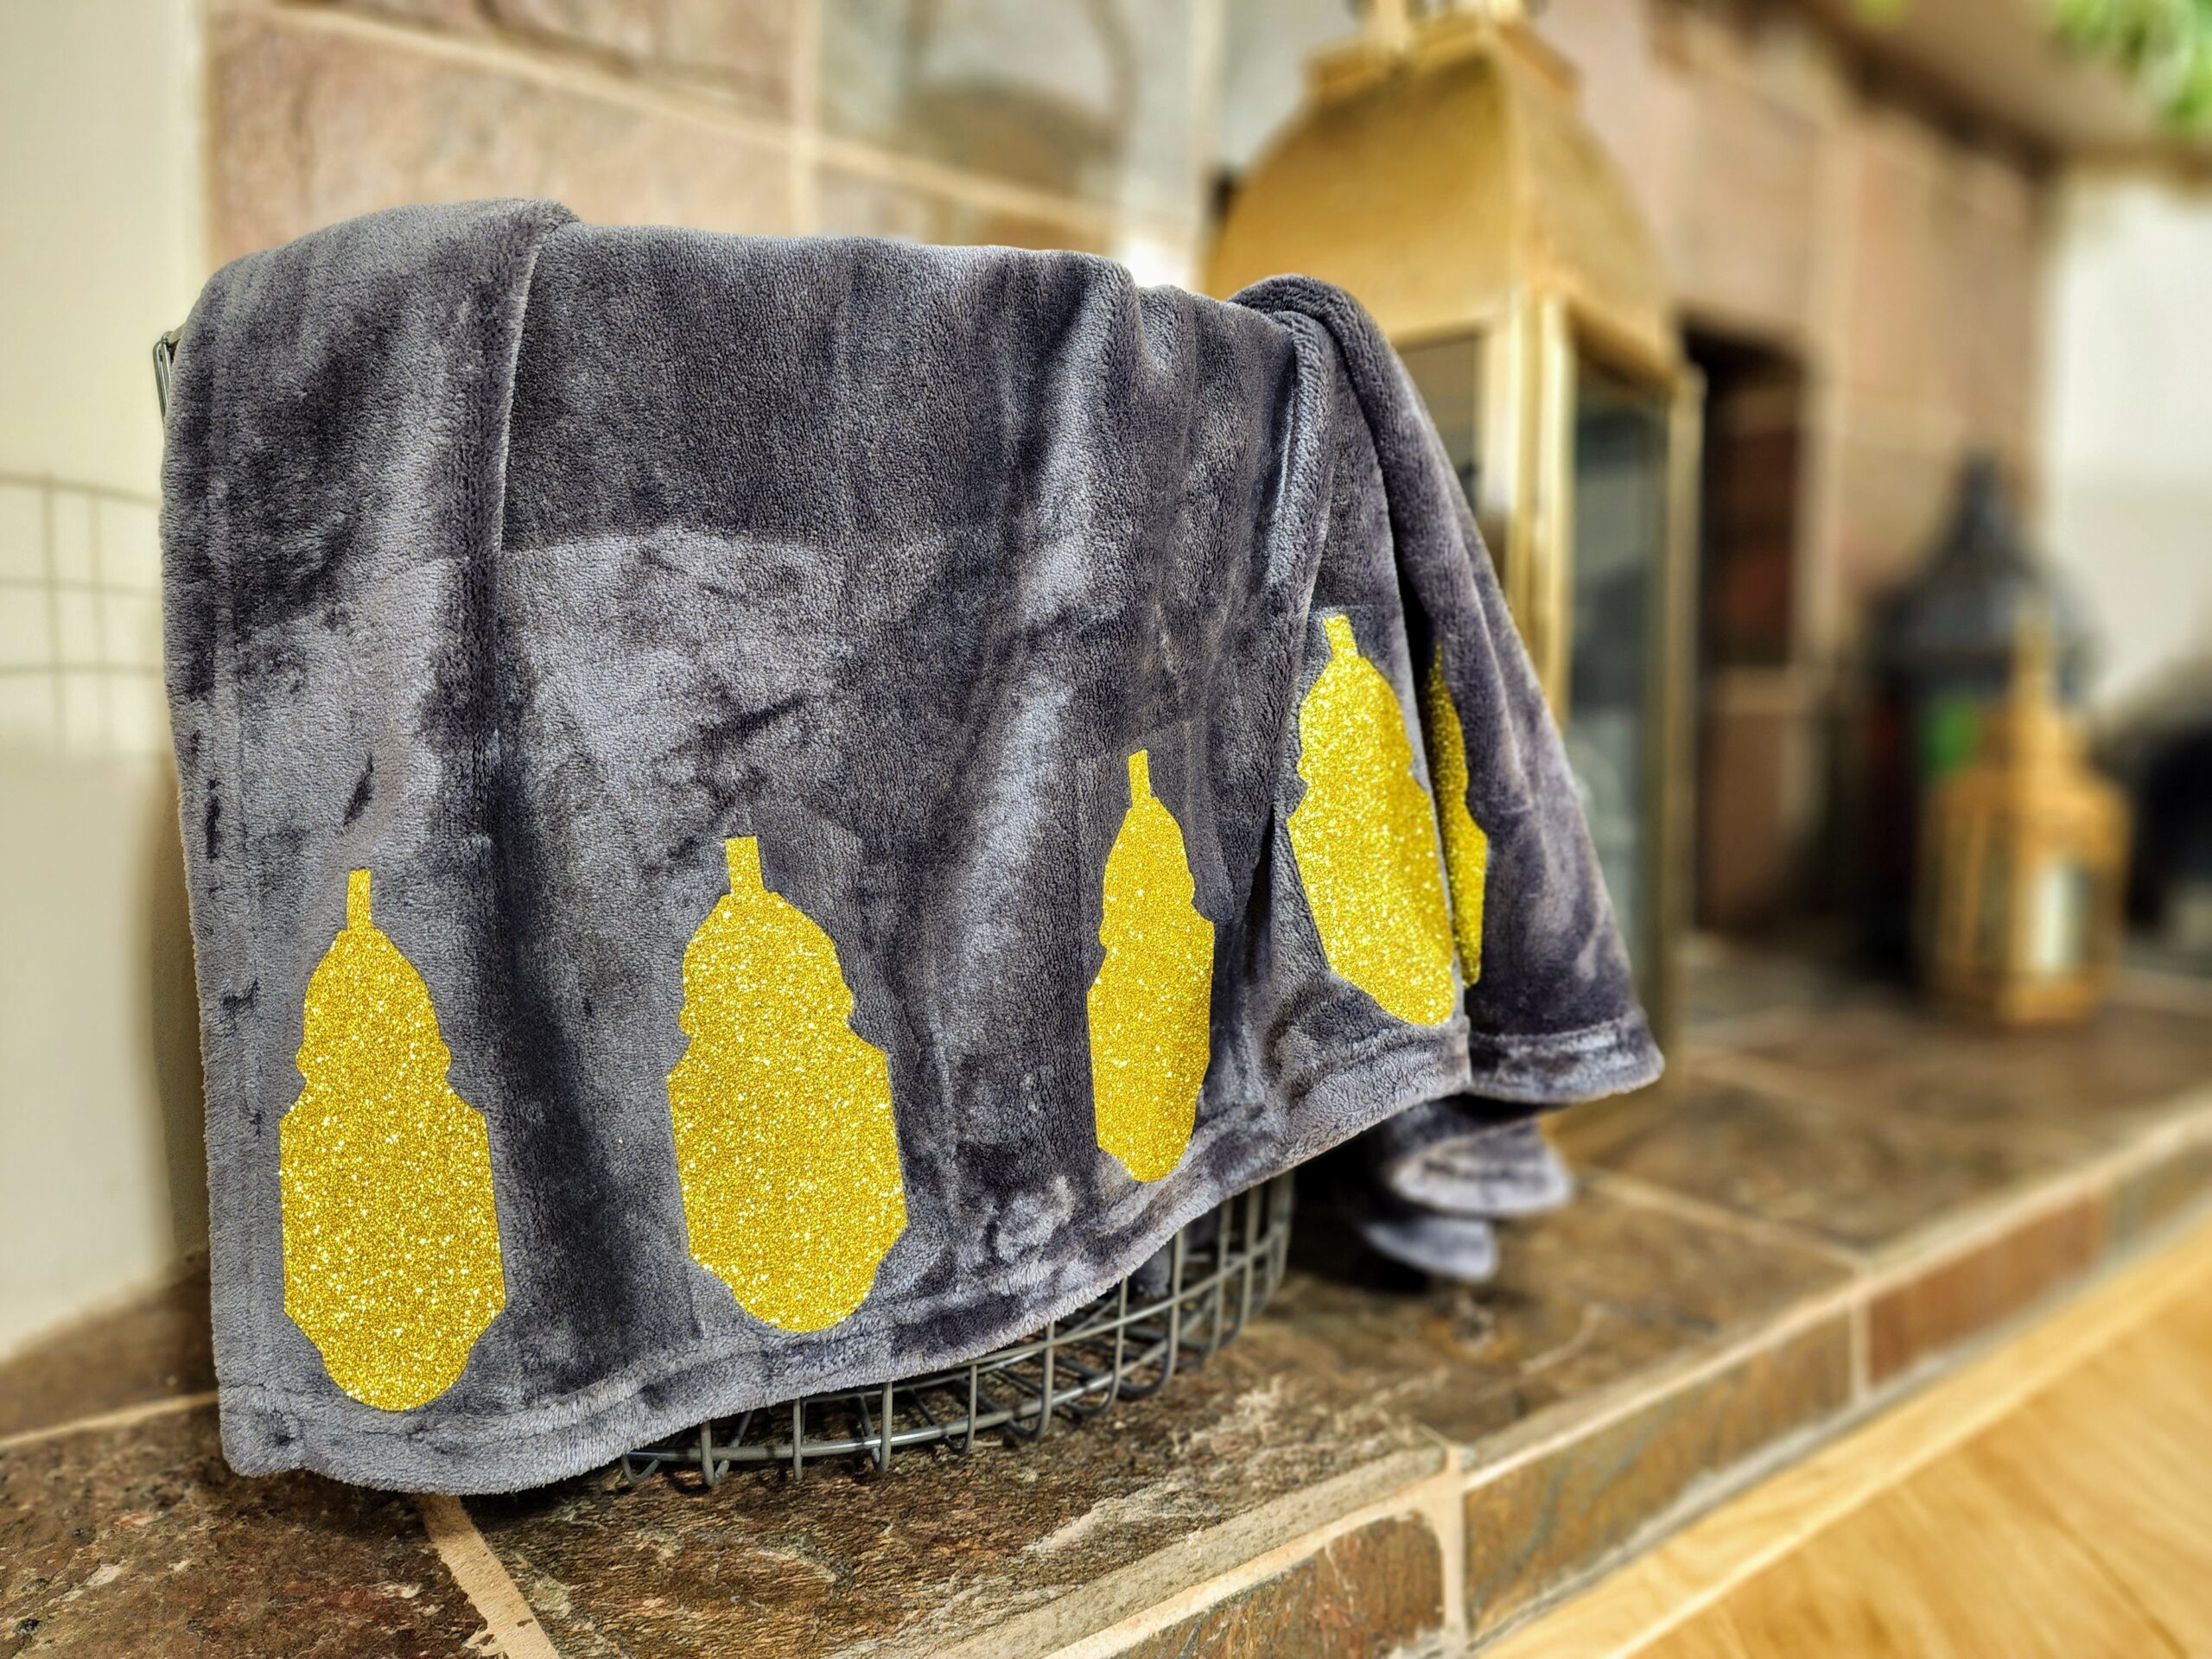
Decorate your couch this Ramadan with our Ramadan Cricut blanket
You’ve got to make this Ramadan Cricut blanket DIY. Because it’s fun and gives a little hint of Ramadan on your couches & chairs. Plus, you can snuggle up on these cool Ramadan nights. We love a good functional craft. And if you’re into Ramadan Cricut project & ideas, check out ourRamadan doormat DIY.
Plus, we’ve included the lantern png file below! Just image the other Ramadan & Eid project you can do on your Cricut or Silhouette. WATCH the how-to on ourYouTube Channel!
Make sure to check out our other Cricut projects in ourDIY tab,
Sign up for our newsletterand get all the DIYs sent to you email every time. And make sure to follow us on Instagram for more Ramadan & Eid inspiration.
Note: This post contains affiliate links. You can read our privacy policy.
The first thing you need to do is open Cricut on your computer. Then download our lantern file, at the bottom of the article. Once you do, upload the png file to Cricut. We choose moderately complex. No background remover needed so just select apply & continue. Next select cut image and hit upload.
Configure the Image
Once it’s uploaded, select the image and hit add to canvas. Now that you’ve got one lantern, you’re going to want to make it approximately 3 inches wide by 6 inches tall. Now duplicate that image five times, for a total of six lanterns.
For the advanced Cricuters out there, you could even place a box on top of the large part of the lantern and make a cut out there or add another color and layer the vinyl.
The lanterns will be printed on a strong grip mat, and we’re using glitter heat transfer vinyl (HTV) so we need to keep it within the roll we have, which means it can’t go over 12 inches wide, and 12 inches tall.
Print
Time to send to the printer. Click ‘make it’ and make sure that all of your lanterns appear on your mat. If not, you’ll need to adjust their sizes ever so smaller for it to fit.
When you’re dealing with HTV you always want to hit the mirror button, so turn that on. Now because these lanterns aren’t words, they’ll cut the same regardless of mirroring, I still do it to get into the habit.
Before you print make sure your dial is on the correct setting! Switch your knob to custom, then select glitter iron-on. Glitter is a little thicker and we want a nice clean cut. Pressure setting, default. If you’re not doing glitter you can select the regular iron-on knob on your Cricut.
Grab your strong grip mat and cut the iron-on to the size you’ve made it. Glitter vinyl is so thick that typically a regular stick grip mat won’t hold your HTV well enough in place. If you’ve got an area where there are no lanterns, go ahead and trim that glitter out. No need to waste glitter HTV.
Make sure to place the HTV shiny side up! We did a total of 7 lanterns, because honestly, we messed up the first cut and we’ll explain how in the next step. But print as many as you want!
Let the Cricut cut it our your lanterns. Never mind the change of mats in the photo, let us tell you what happened. We didn’t understand the depth of the cut on our lanterns. We did a first run but the lanterns weren’t completely cut out, like traditional vinyl, and so we kept going until we realized this.
HTV is vinyl & transfer tape in one. Which means it only needs to cut the vinyl but doesn’t need to cut the transfer tape on the mat side. That means your lanterns will look cut out on one side, but not on the other. This is what you want!
Check out the mat side of the HTV, not a cut to be seen. And that’s what you want with HTV.
Now it’s time to individually, with scissors, cut each lantern out. Be careful when doing it – you definitely don’t want to cut through a lantern! And don’t cut the lanterns out exactly, leave space all around the lantern so you can get a grip on the transfer tape and pull off after ironing them on.
Lay down your heat pad or towel, doubled over, on your table. Place your blanket on top. Next, figure out spacing of the lanterns. We did 2 1/2 inches in between, but I would bump that up to 3 or 3 1/2 inches space. Heat the iron to 315 degrees while doing this.
Before ironing on your first lantern, you’ll need to heat the area where your first lantern will go. Don’t skip this step, it’s important, and helps the vinyl create a smoother finish. Press down for around 7-10 seconds.
Once the blanket is warm, place your first lantern down and place the iron on it, with pressure, for 30 seconds at 315 degrees.
Keep repeating with each lantern. Heat the blanket, then iron on the lantern. Once you’re done with the entire front part. Flip the blanket and iron every lantern once more for 30 seconds at 315 degrees with pressure.
Flip the blanket over and start peeling the transfer tape off each lantern, and you’re all done!
Now display your Ramadan lantern Cricut DIY and marvel at your craftiness. This would make a fantastic homemade Ramadan or Eid gift too.
Upload the png file to Cricut. We choose moderately complex. No background remover needed so just select apply & continue.
Select cut image and hit upload.
Once it’s uploaded, select the image and hit add to canvas.
Make the lantern approximately 3 inches wide by 6 inches tall.
Duplicate that image five times, for a total of six lanterns.
For the advanced Cricuters out there, you could even place a box on top of the large part of the lantern and make a cut out there or add another color and layer the vinyl.
The lanterns will be printed on a strong grip mat, and we’re using glitter heat transfer vinyl (HTV) so we need to keep it within the roll we have, which means it can’t go over 12 inches wide, and 12 inches tall.
Send to the printer. Click ‘make it’ and make sure that all of your lanterns appear on your mat. If not, you’ll need to adjust their sizes every so smaller for it to fit.
When you’re dealing with HTV you always want to hit the mirror button, so turn that on. Now because these lanterns aren’t words and they’ll cut the same, regardless of mirroring, I still do it to get into the habit.
Before you print make sure your dial is on the correct setting! Switch your knob to custom, then select glitter iron-on. Glitter is a little thicker and we want a nice clean cut. Pressure setting, default. If you’re not doing glitter you can select the regular iron-on knob on your Cricut.
Grab your strong grip mat and cut the iron-on to the size you’ve made it. Glitter vinyl is so thick that typically a regular stick grip mat won’t hold your HTV well enough in place. If you’ve got an area where there are no lanterns, go ahead and trim that glitter out.
Place the HTV shiny side up! We printed a total of 7 lanterns, but six would look great.
Let the Cricut cut it. Side note: HTV is vinyl & transfer tape in one. Which means it only needs to cut the vinyl but doesn’t need to cut the transfer tape on the mat side. That means your lanterns will look cut out on one side, but not on the other. This is what you want!
Cut each lantern out with your scissors. Be careful – don’t cut through a lantern! And don’t cut the lanterns out exactly, leave space all around the lantern so you can get a grip on the transfer tape and pull off.
Lay down your heat pad or towel, doubled over, on your table. Place your blanket on top.
Heat the iron to 315 degrees.
Figure out the spacing of the lanterns. We did 2 1/2 inches in between, but I would bump that up to 3 or 3 1/2 inches space.
Before ironing on your first lantern, you’ll need to heat the area where your first lantern will go. Don’t skip this step, it’s important for and helps the vinyl create a smoother finish. Press down for around 7-10 seconds.
Once the blanket is warm, place your first lantern down and place the iron on it, which pressure, for 30 seconds at 315 degrees.
Keep repeating with each lantern. Once you’re done with the entire front part. Flip the blanket and iron every lantern once more for 30 seconds at 315 degrees with pressure.
Flip the blanket over and start peeling the transfer tape off each lantern
All done!
Printables are intellectual property of Eid Collective. You may not use Eid Collective printables to sell items or alter them in any way. Please do not send or distribute printables to others, once you gain access to the printables, it is for you, and you alone to print and enjoy.


")