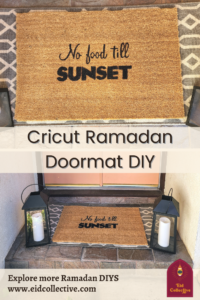
Create your own, customizable, fun & cheeky Ramadan doormat on your Cricut.
This Cricut Ramadan Doormat DIY is playful. Fun, cute, silly, but also difficult. I’m going to be real honest here, it’s not a quick and easy craft. It’s a craft that takes time and a load of patience – particularly if you’ve never dealt with a doormat and it’s unkind texture. Because your vinyl won’t stick very well, but is it worth it in the end? We think so. A YouTube tutorial for this Ramadan Cricut craft is on its way over on our YouTube channel. Subscribe & follow to get notifications. We hope to bring you more Ramadan Cricut projects & ideas in the future!
Scroll to the bottom to skip to the step-by-step instructions.
Sign up for our newsletter and get all the DIYs sent to you email every time. And make sure to follow us on Instagram for more Ramadan & Eid inspiration.
Note: This post contains affiliate links. You can read our privacy policy.
Supplies
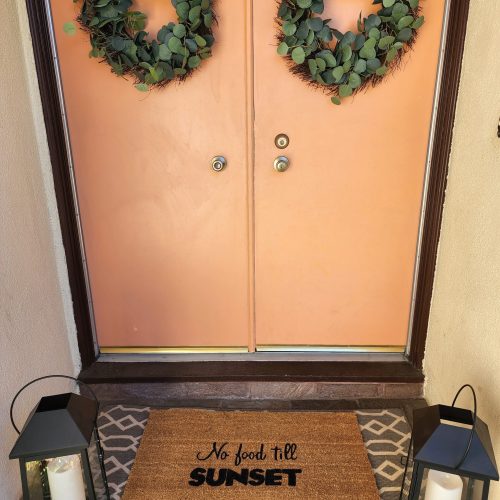
Let’s run through the supplies really quick. Because this craft does need a fair amount of more unusual pieces due to it’s size. Products are linked, or visit our Amazon storefront
- Cricut – we used the Explorer 2
- Large 12×24 Cricut Cutting Mat
- Large Removable Vinyl
- We heard permanent vinyl is better for this project, but we used removable
- Large transfer tape
- Weeding tools
- Scissors
- Doormat
- Amazon
- IKEA
- Paint possibilities – pick one:
- Flex Seal paint
- Rust Oleum paint
- Outdoor Acrylic Paint – we did this
- Foam paintbrush
- Thin paintbrush
- Painter’s tape
Create the message for the doormat
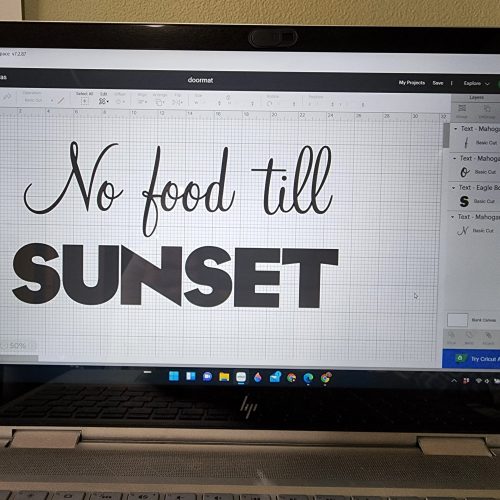
- Measure your mat
- The IKEA one was 35 wide 23 ½ inches tall
- Determine what size you’d like your message. Ours was around 12 tall x 17 ½ wide
- Design your message, or use ours – get it here
- Select all of the words by highlighting them
- Group them together
- Leave them highlighted and weld the message together
Make it into a stencil
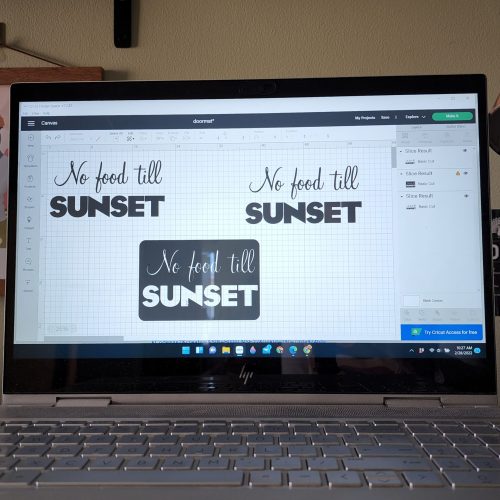
- Go to shapes and add a rectangle.
- Make the rectangle the same size as the letters
- Move the message group above the rectangle
- Highlight the message & the rectangle
- Slice everything together
Leave just the stencil
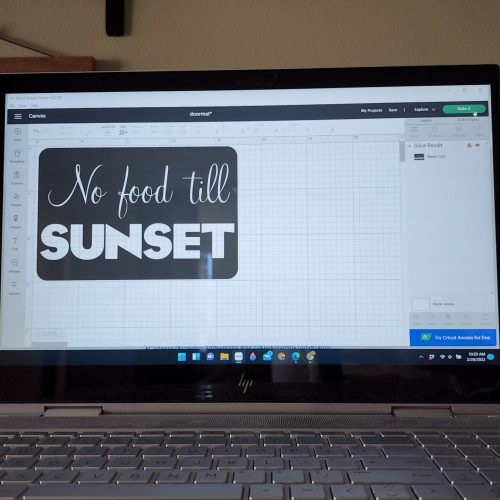
- Now remove the top 2 layers of the design.
- Delete the just font layers until you’re left with the box with the font stencil
- Now it’s time to print
Place the vinyl on the cutting mat
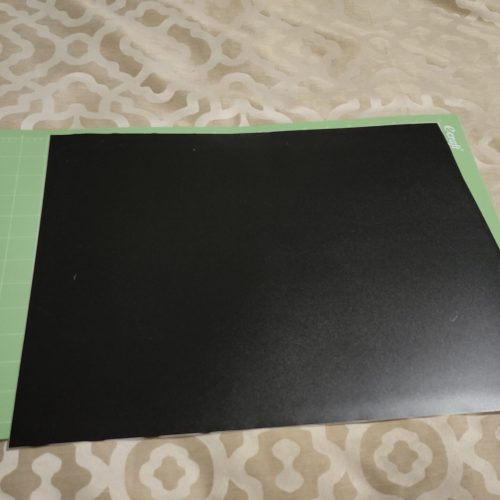
- Now it’s time to cut the vinyl to size
- We cut a 12×18 size for the vinyl
- Lay the vinyl on your printing mat, make sure to get all the air bubbles out.
- And make sure you have lots of space behind your Cricut for your mat to go through
Cut the message
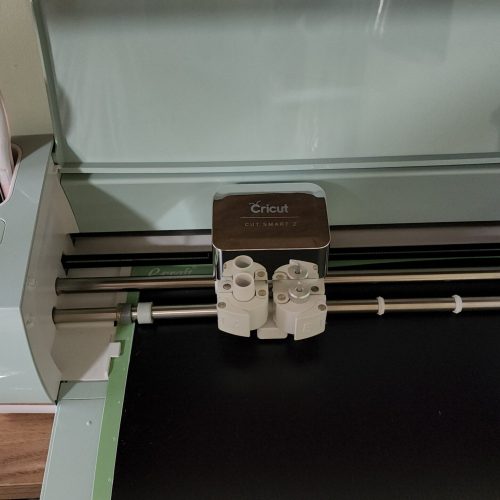
- On your Cricut machine select vinyl
- Select ‘make it’
- Hit continue
- Load your mat & hit the loading button on your machine
- Once loaded, hit cut on your machine
- Once it’s done cutting, unload the mat
Weed out the message
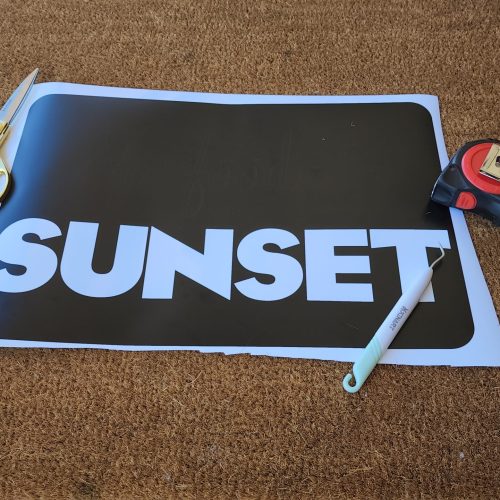
- Take the vinyl off the mat
- Wed your stencil by removing the letters and the far outside area to leave the rectangle in place
Place the transfer tape on top
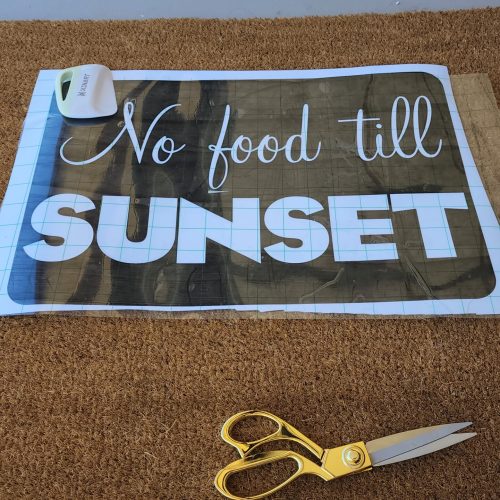
- Trim your transfer tape to size
- Take your transfer tape and place it over the top of your stencil, smoothing out any bubbles
Remove the vinyl
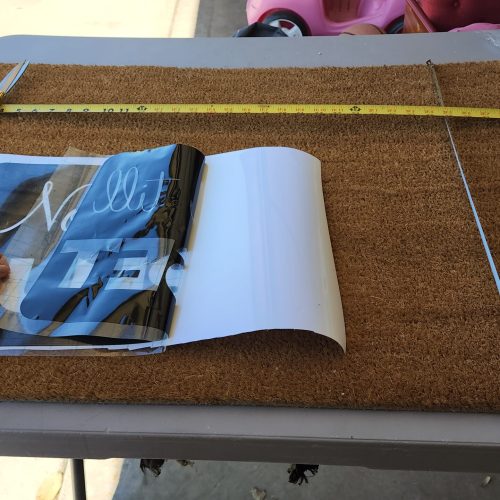
- Before you peel, measure the stencil and mark where you’d like to place it on your doormat. So you’re ready to go.
- Peel the transfer tape and stencil away from the stencil backing
- This takes a lot of patience, go slow
Place the message on the doormat
Lay down your heat pad or towel, doubled over, on your table. Place your blanket on top. Next, figure out spacing of the lanterns. We did 2 1/2 inches in between, but I would bump that up to 3 or 3 1/2 inches space. Heat the iron to 315 degrees while doing this.
Tape the message down
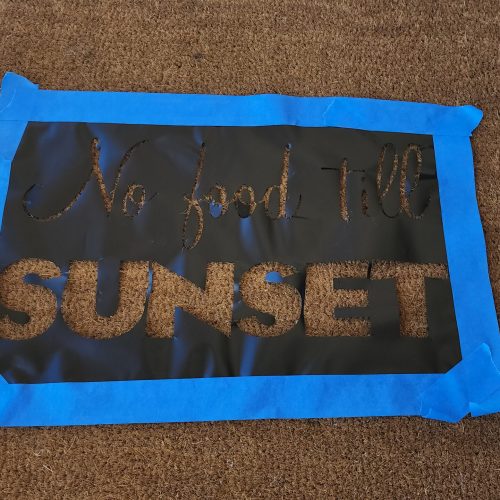
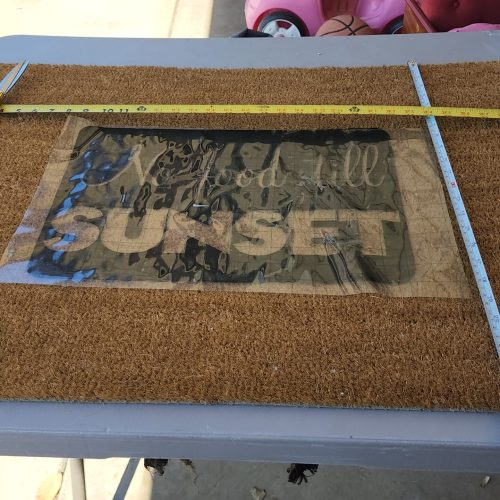
- Place the stencil on the doormat lightly. Before you push it down, measure once more to make sure it’s centered
- Scrape the stencil down onto the doormat
- As you start to peel the contact paper off, start to tape down your design. Use loads of tape and be careful – your stencil will still move.
- Continue to peel the transfer tape off and add the rest of your tape
Paint
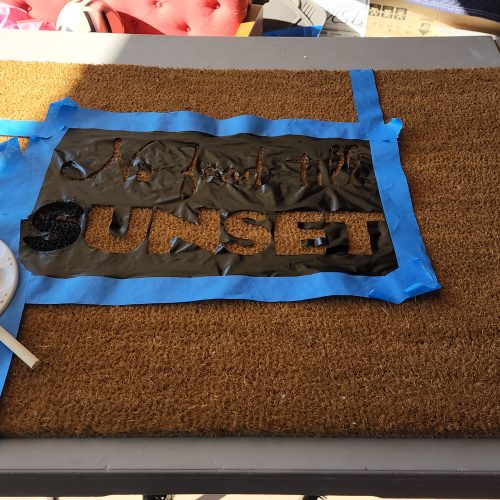
- Take your acrylic or outdoor paint and using a foam brush, paint over the stencil. Make sure you do it around medium pressure. Don’t worry about every crevice, you can fill that in after the stencil is off. You really want to make sure at least the outline is there
- Remove the stencil once you’re done or wait around 10 minutes. As always, be careful as the paint is wet
- Weed out the smaller sections
After the stencil

Not great. Let’s fill it in.
Fill in

Take your thin paintbrush and go in to finish filling out the message and smoothing out the design. Much better!
On display
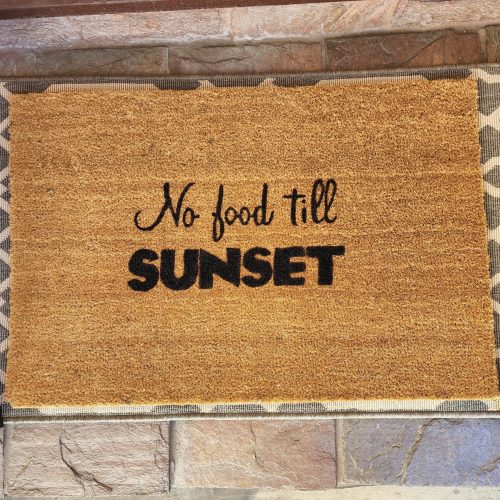
Let it sit for 24 hours before doing anything
Supplies
Products are linked, or visit our full Amazon store.
- Cricut – we used the Explorer 2
- Large 12×24 Cricut Cutting Mat
- Large Removable Vinyl
- We heard permanent vinyl is better for this project, but we used removable
- Large transfer tape
- Weeding tools
- Scissors
- Doormat
- Amazon
- IKEA
- Paint possibilities – pick one:
- Flex Seal paint
- Rust Oleum paint
- Outdoor Acrylic Paint – we did this
- Foam paintbrush
- Thin paintbrush
- Painter’s tape
Cricut Instructions – Design
- Measure your mat
- The IKEA one was 35 wide 23 ½ inches tall
- Determine what size you’d like your message. Ours was around 12 tall x 17 ½ wide
- Design your message, or use ours – get it here
- Select all of the words by highlighting them
- Group them together
- Leave them highlighted and weld the message together
- Go to shapes and add a rectangle.
- Make the rectangle the same size as the letters
- Move the message group above the rectangle
- Highlight the message & the rectangle
- Slice everything together
- Now remove the top 2 layers of the design.
- Delete the just font layers until you’re left with the box with the font stencil
- Now it’s time to print
Cut the Vinyl
- Now it’s time to cut the vinyl to size
- We cut a 12×18 size for the vinyl
- Lay the vinyl on your printing mat, make sure to get all the air bubbles out.
- And make sure you have lots of space behind your Cricut for your mat to go through
Cricut Instructions – Print
- On your Cricut machine select vinyl
- Select ‘make it’
- Hit continue
- Load your mat & hit the loading button on your machine
- Once loaded, hit cut on your machine
- Once it’s done cutting, unload the mat
- Take the vinyl off the mat
- Wed your stencil by removing the letters and the far outside area to leave the rectangle in place
- Trim your transfer tape to size
- Take your transfer tape and place it over the top of your stencil, smoothing out any bubbles
Painting Time
- Before you peel, measure the stencil and mark where you’d like to place it on your doormat. So you’re ready to go.
- Peel the transfer tape and stencil away from the stencil backing
- This takes a lot of patience, go slow
- Place the stencil on the doormat lightly. Before you push it down, measure once more to make sure it’s centered
- Scrape the stencil down onto the doormat
- As you start to peel the contact paper off, start to tape down your design. Use loads of tape and be careful – your stencil will still move.
- Continue to peel the transfer tape off and add the rest of your tape
- Take your acrylic or outdoor paint and using a foam brush, paint over the stencil. Make sure you do it around medium pressure. Don’t worry about every crevice, you can fill that in after the stencil is off. You really want to make sure at least the outline is there
- Remove the stencil once you’re done or wait around 10 minutes. As always, be careful as the paint is wet
- Weed out the smaller sections
- Take your thin paintbrush and go in to finish filling out the message and smoothing out the design
- Let it sit for 24 hours before doing anything
Printables are intellectual property of Eid Collective. You may not use Eid Collective printables to sell items or alter them in any way. Please do not send or distribute printables to others, once you gain access to the printables, it is for you, and you alone to print and enjoy.

Showcase it! When you print up the Cricut Ramadan Doormat Craft, make sure to tag us in your photos. We look forward to seeing how you’ve displayed it!
And make sure to follow us on Instagram for more Ramadan & Eid inspiration.
Share This Article
